 Docs
Docs
Starting Your First App
This guide walks you through setting up your app with Kinvey.
Prerequisites
- Xcode 8.1 or above.
- iOS 9 or above.
- Swift 3 or above. Refer to the download page for the Kinvey version that matches your preferred Swift version.
Set Up Kinvey
You can start using the Kinvey framework in one of three ways - using CocoaPods, using the Kinvey starter app, or using the SDK source code.
Using CocoaPods
If you are using CocoaPods, add the Kinvey Pod to your target in the Podfile.
pod `Kinvey`For a target called MyProject, your Podfile will look like this:
target 'MyProject' do

  pod 'Kinvey'

end
From the Terminal, run pod install in the project folder to install the dependency.
3.2.x.
pod 'Kinvey', '~> 3.2.1'Using the Starter App
You can get started with the Kinvey iOS starter app. The starter app is bundled with the Kinvey framework.
We recommend updating the Kinvey framework in the app to the latest available on our downloads page before you begin.
Using SDK Source Code
The Kinvey iOS SDK is open source. If you prefer to compile your app against the SDK source code, you can follow the instructions on our github repo to set up the SDK.
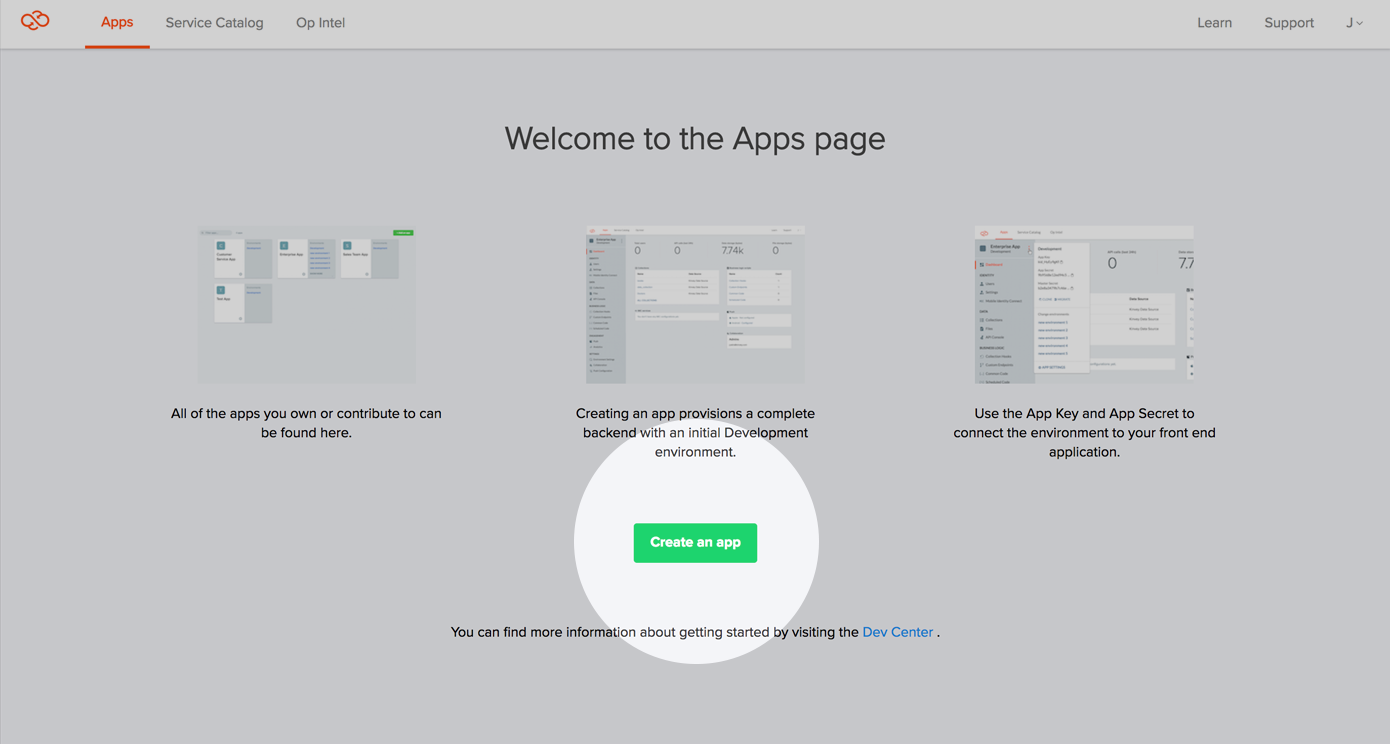
Add an App Backend
In the Kinvey console, click Create an App and enter the name of your app when prompted.
You can find your key and secret in the dropdown menu in the environment sidebar.
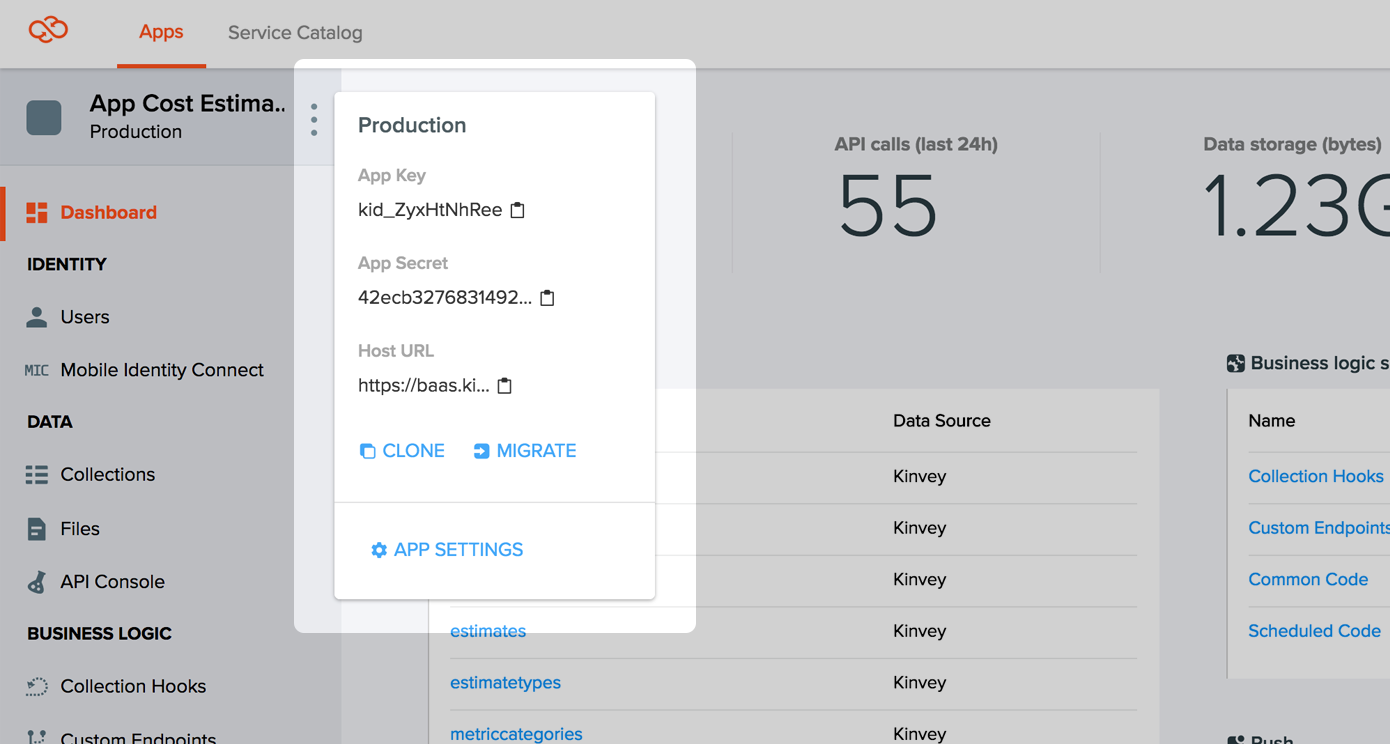
Copy the key and secret when performing the next steps.
Initialize Kinvey Client
Before you can communicate with the backend, you need to give the library your app key and secret. This is done with the following code snippet, substituting your app's key and secret (found in the management console header when viewing your app backend). We recommend adding this to your AppDelegate's application:didFinishLaunchingWithOptions: method.
import Kinvey

Kinvey.sharedClient.initialize(
    appKey: "<#Your App Key#>",
    appSecret: "<#Your App Secret#>"
) {
    switch $0 {
    case .success(let user):
        if let user = user {
            print("\(user)")
        }
    case .failure(let error):
        print("\(error)")
    }
}

// Then access data store collections on the shared instance
let dataStore = try DataStore<Book>.collection()
The above snippet uses the sharedClient global variable. This shared instance of the Kinvey.Client class adds convenience when your app is only communicating with a single Kinvey instance and is the recommended way of working with a Kinvey instance. If you need to, you can still create one or more Client instances of your own instead.
import Kinvey

// Initialize each Kinvey instance
let k1 = Client(
    appKey: "<#Instance 1 App Key#>",
    appSecret: "<#Instance 1 App Secret#>"
)

let k2 = Client(
    appKey: "<#Instance 2 App Key#>",
    appSecret: "<#Instance 2 App Secret#>"
)

// Then access data store collections separately on each instance
let bookStoreK1  = try DataStore<Book>.collection(options: Options(client: k1))
let bookStoreK2 = try DataStore<Book>.collection(options: Options(client: k2))instanceId to the ID of their dedicated Kinvey instance.
You can find your Instance ID on the dashboard of the Kinvey Console, next to your App Key and App Secret.
Kinvey.sharedClient.initialize(
    appKey: "<#Your App Key#>",
    appSecret: "<#Your App Secret#>",
    instanceId: "<#Your Instance ID#>"
) {
    switch $0 {
    case .success(let user):
        if let user = user {
            print("User: \(user)")
        }
    case .failure(let error):
        print("Error: \(error)")
    }
}
Verify Set Up
You can use Client.ping() to verify that the app credentials were entered correctly. This function will contact the backend and verify that the library can communicate with your app. This code can be placed in your UIApplicationDelegate.application(_, didFinishLaunchingWithOptions:) method after the Client.initialize(). This function is good for while-in-development sanity check, but we do not recommend using it as part of a production application. The ping method is a not a robust way to test that the service is available.
Kinvey.sharedClient.ping() { (result: Result<EnvironmentInfo, Swift.Error>) in
    switch result {
    case .success(let envInfo):
        print(envInfo)
    case .failure(let error):
        print(error)
    }
}
Set Instance Options
Beside the mandatory appKey and appSecret, you can initialize the Kinvey instance with a number of options.
For example, you can specify a longer or shorter timeout for requests to the instance.
Kinvey.sharedClient.initialize(
    appKey: "<#Your App Key#>",
    appSecret: "<#Your App Secret#>"
) {
    switch $0 {
    case .success(let user):
        if let user = user {
            print("User: \(user)")
        }
    case .failure(let error):
        print("Error: \(error)")
    }
}
Kinvey.sharedClient.options = try Options(timeout: 90)
If you've set the timeout option through the Options structure for a single request or an entire collection instance, or even for the same Kinvey instance, it will override the value of timeoutInterval.
See the API reference for the full list of options.
The Options Structure
Whenever you need to set a different option value other then the default value for a single request, a collection instance, or a Kinvey instance, you can set it in the Options structure. Although the SDK allows you to set some of the options separately, setting them through the structure is more convenient and tidy in most cases.
To see the complete list of values defined by the structure, check the API Reference.
All properties in the Options structure are optional. The value of nil is assumed for a property that you don't set explicitly, which is the default value.
To set options, first instantiate the Options structure and then pass the instance to the request or collection or Kinvey instance. You can create as many Options instances as you need and set their options differently.
Kinvey.sharedClient.initialize(
    appKey: "<#Your App Key#>",
    appSecret: "<#Your App Secret#>"
) {
    switch $0 {
    case .success(let user):
        if let user = user {
            print("User: \(user)")
        }
    case .failure(let error):
        print("Error: \(error)")
    }
}
Kinvey.sharedClient.options = try Options(timeout: 120)
The following example sets client app version and custom request properties which correspond to setting the custom headers X-Kinvey-Client-App-Version and X-Kinvey-Custom-Request-Properties respectively.
The clientAppVersion option sets a version for your app that is sent with every network request. Is allows you to implement different behavior for the various app versions that you have deployed.
The customRequestProperties options allows you to pass arbitrary values with your request, which you can then evaluate with business logic and act depending on the value.
let dataStore = try DataStore<Book>.collection()
let options = try Options(
    clientAppVersion: "1.0.0",
    customRequestProperties: [
        "myCustomString" : "test",
        "myCustomNumber" : 1
    ]
)
dataStore.save(book, options: options) {
    switch $0 {
    case .success(let book):
        print(book)
    case .failure(let error):
        print(error)
    }
}
Every App has an Active User
Your app will be used by a real-life human being. This person is represented by the Active User. This user object must explicitly be created, either with a username and password, OAuth sign-on (such as Facebook, Google+, LinkedIn, etc.), or Mobile Identity Connect. See the User Guide for more information.
What's next
You are now ready to start building your awesome apps! Next we recommend diving into the User Guide or Data Store Guide to learn more about our service, or explore the sample apps to go straight to working projects.