Docs
Docs
Single Sign-On
The Kinvey Single Sign-On feature allows linking external (SAML\ADFS) identity providers to Kinvey. The external identity providers can then be used to access the Kinvey Web Console, CLI and Management API.
Using an external identity provider results in better security and improved convenience for the users. Users will not need to remember an additional set of credentials for Kinvey and the user management (including disabling access for a user) will happens only in the identity provider (already handled by the IT team).
Requirements
To configure single sign-on with a SAML identity provider you need the following:
- Administrator role on instance level in Kinvey. Only instance administrators can configure single sign-on.
- A configured and accessible Active Directory instance.
After you ensure that you meet those requirements, you should navigate to the Kinvey Console and work on adding an identity provider.
Configuration
Single sign-on in Kinvey is configured through Identity Providers. An Identity Provider entity is used to configure integration with a single external SAML identity provider. It is possible te configure integration with several SAML identity providers at the same time. Each configured identity integration appears as a button in the Kinvey Login screen.
The first step of enabling single sign-on is to add and configure a SAML identity provider in the Kinvey Console.
To begin, log in to the Kinvey Console and navigate to the Instance Settings view by clicking on the respective icon in the top right corner. Then, select the Identity Providers tab from the left-side menu. Finally, click on the Add an Identity Provider button.

There are several fields that need to be populated in order to add an identity provider. The table below contains short description of each field.
| Field | Description | Required |
|---|---|---|
| Name | The name of the Identity Provider as it will appear in the Instance Settings view | Yes |
| Description | This field can contain any additional information or comments about the Identity Provider | No |
| Label | The name associated with the identity provider and shown on the login screen in the Kinvey Console. If no label is provided then a default value is created based on the content of the Name field: "Login with Name Account" | No |
| Identity Provider Icon | The icon that is associated with the identity provider and shown on the login screen in the Kinvey Console. If no icon is provided then a default icon depicting a key is used instead | No |
| Single Sign-On URL | The single sign-on service URL provided by the SAML Identity Provider | Yes |
| Idp Certificate | The X.509 Certificate text provided by the SAML Identity Provider | Yes |
| SAML Binding | The mechanism by which the SAML requestors and responders are communicating. The available options are HTTP-POST and HTTP-Redirect | - |
| Name ID Format | Aligns the expectations between the identity provider and Kinvey on the format of the user identity that is communicated. The setting indicates what format Kinvey should expect from the Identity provider. If none is specified, a default format is used urn:oasis:names:tc:SAML:1.1:nameid-format:unspecified | - |
| Sign Auth Request | Specifies if the authentication requests are signed or not | No |
| Signature Algorithm | The type of algorithm that is used to sign the requests. The available options are sha1, sha256 and sha512. | - |
| Request Compression | Specifies if the requests are compressed or not | No |
| Session Timeout | Specifies an expiration time for the user session in seconds. The default value is 3600 seconds (60 minutes) | No |
| Sliding Expiration | Specifies if sliding expiration is enabled or not. Sliding expiration resets the expiration time for a valid authentication cookie if a request is made and more than half of the timeout interval has elapsed. If the cookie expires, the user must re-authenticate. | No |
| Enabled | Specifies if the Identity Provider is enabled or not. Setting this option to Yes will enable the ADFS integration and show the new login option in the login menu of the Kinvey Console. | - |
On the bottom of the form is the Provider Testing section which offers a way to test the integration without the need to enable it for the entire instance. This is where you can also download the metadata of the identity provider.
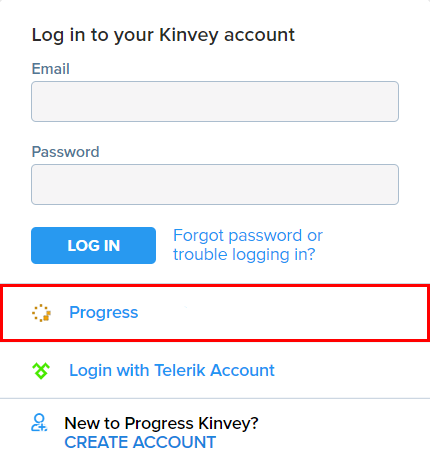
After you enable the identity provider, it will appear in the login form on the Kinvey Console. You can have more than one identity provider enabled at the same time and they all will be listed in the login form.
Linking Existing Accounts
It is possible to start using Kinvey with Kinvey-managed user accounts and switch to using single sign-on at a later time. If you do that some of the existing users will probably have accounts in the identity provider, but their Kinvey accounts will not be linked to that identity provider.
Those existing users can be part of organizations, have their own applications, special permissions and so on. It is often preferred to be able to link the existing Kinvey accounts to accounts to the newly configured identity provider and keep all data related to them, as opposed to creating new Kinvey accounts.
Kinvey makes it possible to link existing accounts that are using Kinvey identity to accounts from an external identity provider. Once the accounts are linked, it is possible to log in using either the single sign-on with the external identity provider or the Kinvey user credentials.
E-mail address is already taken.
For security reasons, linking user account to an external provider cannot be done in a batch. Each user needs to link their own account. Below are the steps that need to be taken in order to link accounts:
- Navigate to your Kinvey Console instance and log in with your Kinvey credentials.
- Hover over the avatar in the top right corner and select Profile from the menu.
- In the Edit Profile view, select the Link Accounts tab from the left-side menu
- Select the Identity Provider to which you want to link the account and click Link Account.
- When redirected to your identity provider login page, provide your identity provider credentials.
- You will be redirected back to the Kinvey Web Console and a success or error message will be displayed.
- After successful linking, you will be able to log in to Kinvey using the external identity provider

Permissions Mapping
The mapping configurations provide a way for the instance administrators to manage users membership and permissions by mapping identity provider (IdP) groups to Kinvey teams. Each mapping takes three values:
| Field | Description | Required |
|---|---|---|
| Identity Provider Group | The group name. Must exactly match the name in the IdP group claims of the SAML Response | Yes |
| Organization | The organization in which resides the Kinvey team and to which the IdP group will be mapped | Yes |
| Kinvey Team | The Kinvey team to which the specific IdP group will be mapped | Yes |
When the instance administrator saves the mapping, it will apply to all users that have logged with the related IdP based on the information from their last login. On the next login, any group changes will be respected and the Kinvey teams will be updated accordingly.

Removing Users
Users added to a team through the permissions mapping cannot be removed manually from the Kinvey Console. To remove such users from a team, they should be removed from the corresponding group on the identity provider side. Any changes made to the identity provider groups will be applied when the user logs in (after logout or session expiration) and the SAML Assertion with updated groups is received.
Disable Kinvey Credentials
In order to improve security it is possible to completely disable the use of the Kinvey built-in login mechanism. This would prevent users from logging in with their Kinvey credentials and ensure that all users need to go through the external identity provider in order to work with Kinvey.
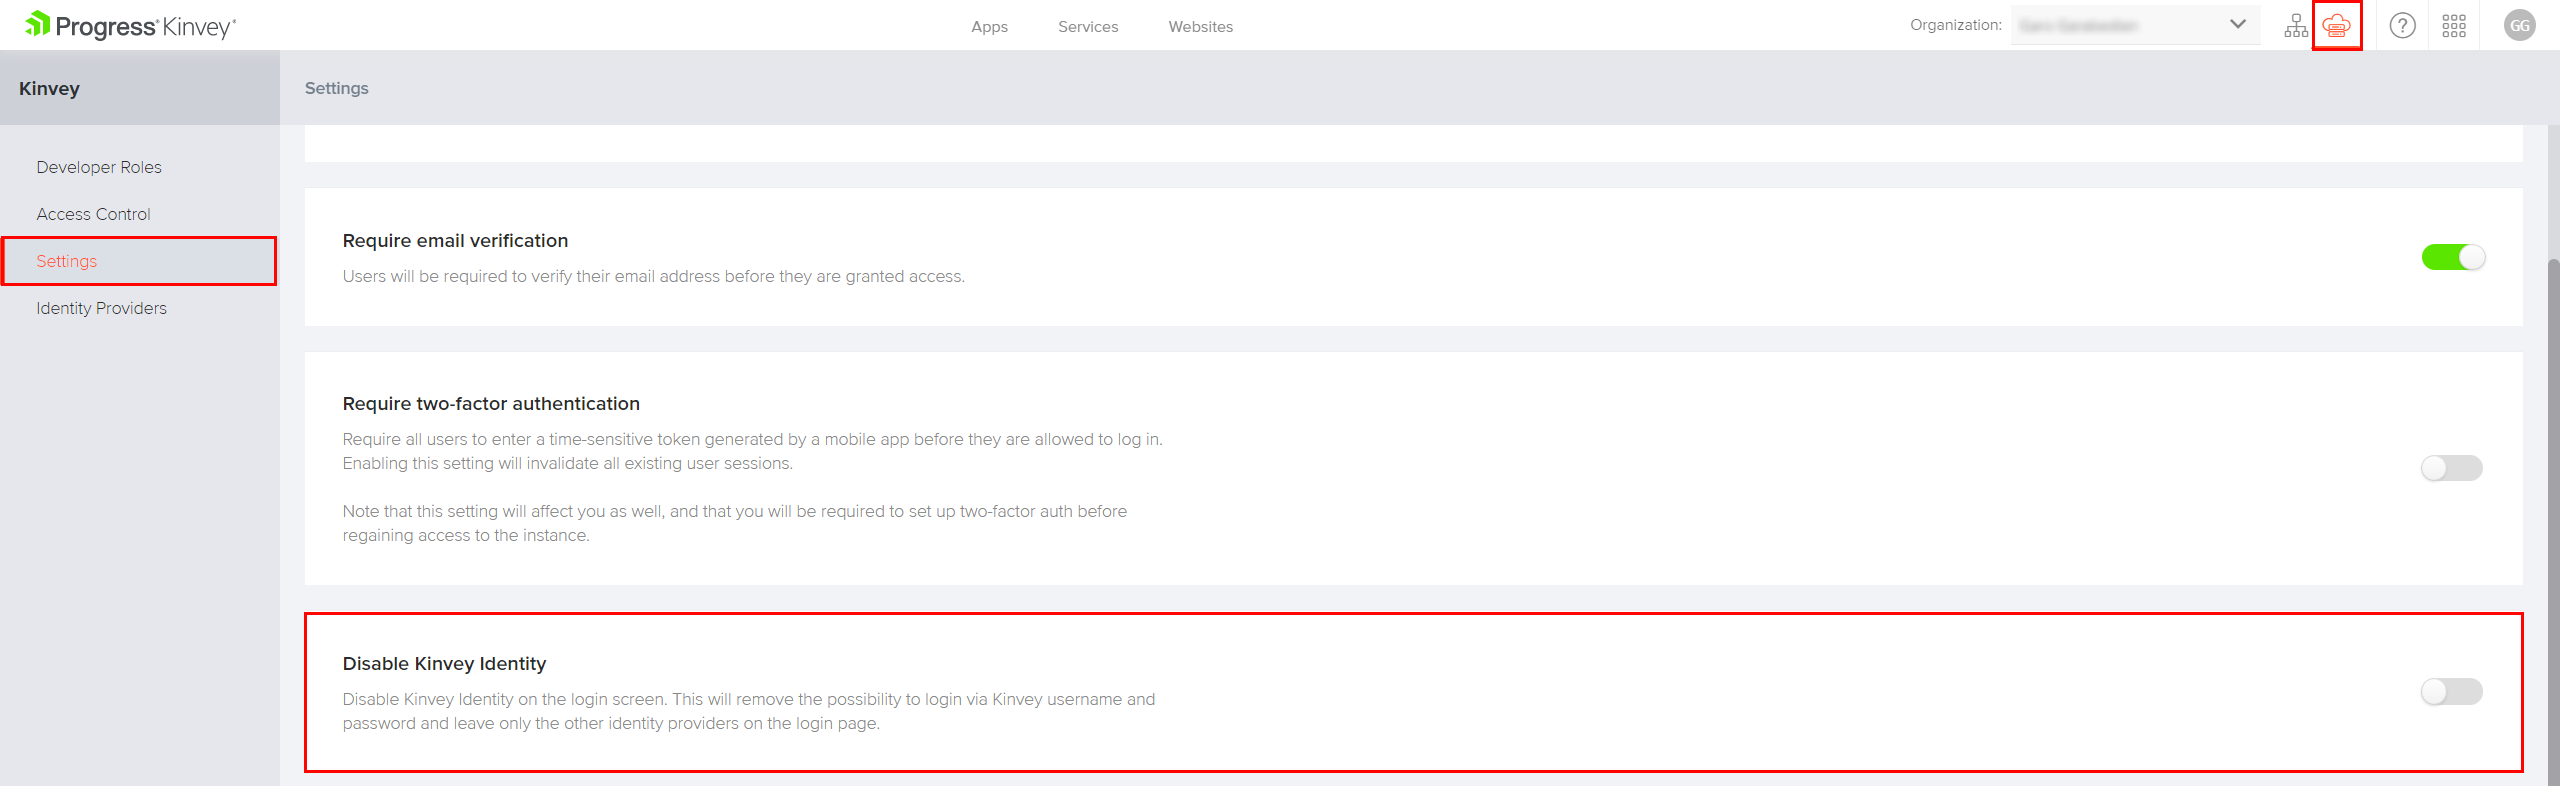
This is done through the Disable Kinvey Identity setting in the Instance Settings page. Turning it on will make it impossible to log in with Kinvey credentials. It will also collapse the Kinvey login option in the login menu of the Kinvey Web Console.
The steps to disable the Kinvey identity are:
- Navigate to your Kinvey Console instance and log in.
- Open the Instance Settings view by clicking on the respective icon in the top right corner.
- Select the Settings tab from the left-side menu.
- Enable the Disable Kinvey Identity toggle to disable the Kinvey identity and login.