Using Access Controls to secure collections
Introduction
This tutorial is for Kinvey users who have a need to store data accessed by both the creator and a list of other involved parties, which many scenarios require. One typical example is Patient Reported Outcome (PRO), where the patient-created data has to be accessed by providers at a later time.
You can configure the necessary collection permissions using roles by visiting the Settings page of any collection using the Kinvey Console. As an app developer, you decide which operations each role can perform and for each of these operations, what type of access users with this role have.
If you are not familiar with the standard security features of Kinvey, check out the Security, Roles, and FlexServices guides on access control methods.
Assumptions
The following assumptions are made throughout this tutorial. If these do not apply to you, the designs might not work for you out of the box. In that case, contact the Kinvey Customer Success team for a customized architecture advice.
- The examples rely on a pair of roles: Patients and Providers.
- Patients are the ones creating their own data records.
- Patients are always allowed to access (read and write) their own data.
Terminology
For the sake of clarity, we use the term "Provider" for all other parties interested in the patient's data. This is regardless of whether the party encompasses other roles such as payer.
The collection used in this document's examples is called results.
Design approach
Our approach creates roles and then adds access control lists (ACLs) entries to each new record that is saved in Kinvey as an entity. We add the ACL entries using FlexServices which look up the relevant role in a lookup table. Then, when reading, the user's permissions are automatically applied.
Step 1. Set correct collection-level permissions
The primary assumption is that the Patient can create, read, update, and delete their own data in the results collection. The first step is to set the collection permisions to Create:Always, Read:Entity, Update:Entity, and Delete:Entity using the Settings menu.

Step 2. Define patient and provider users
In the Console, go to the Users tab and create a set of users. It doesn't matter if these user accounts connect to an external identity provider through Mobile Identity Connect or are managed by Kinvey. Both options work but this tutorial uses local users.
- Patient users:
patient1patient2
- Provider users:
doctor1doctor2doctor3

Step 3. Configure provider role
To allow for optimized access control lists, Kinvey allows you to assign roles to application users and setup access control based on role membership. Access control automatically adjusts when a user joins or leaves a role. Entities don't need to be adjusted whenever a provider leaves or joins a role.
There are two alternatives to managing roles:
- Kinvey Console with its GUI tools, which is useful for one-off modifications
- REST API
1. Add a role
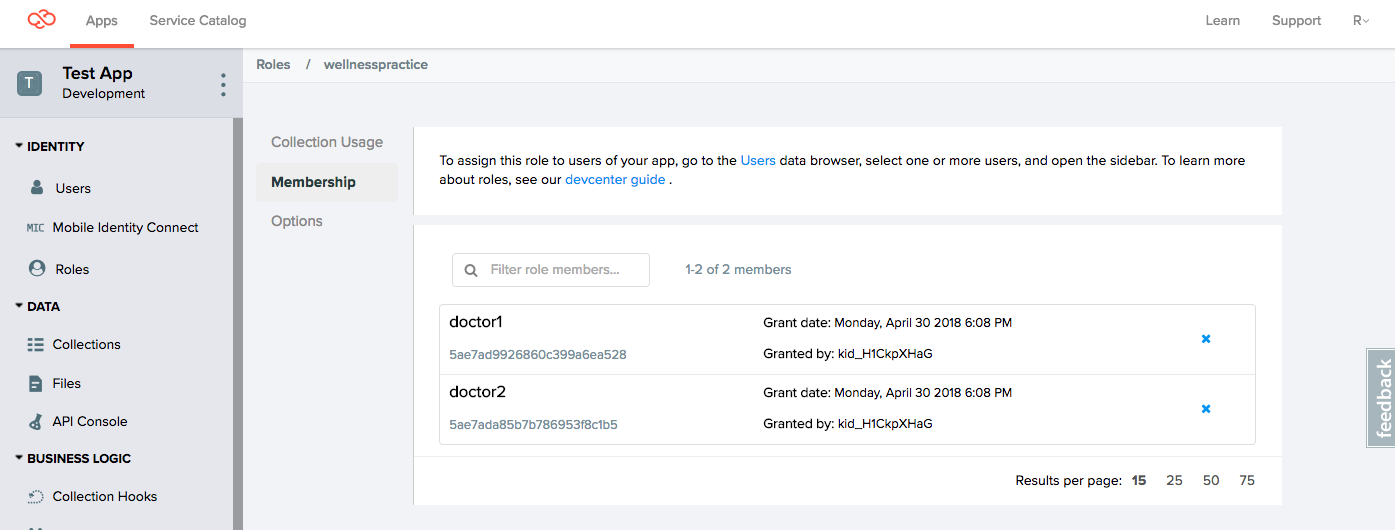
Using the Console, we create a provider role named wellnesspractice, to which we will add doctors later.

2. Add providers to role
Using the Console, we add a pair of users: doctor1 and doctor2, to the wellnesspractice role.
Note that we intentionally leave out doctor3. We'll use this fact to verify our permission settings later.
Step 4: Store patient-provider relationships
During permission lookup, we look up which provider or provider role to add. You can implement lookups using the methods outlined below. In the presence of many custom fields, a cross-reference collection is preferred. This is because the Kinvey API has better methods to query collections than User records.
We use method 2, the cross-reference collection, throughout this tutorial.
1. Add a custom field to the User collection
Here we add the field provider to the User collection using the Console.

2. Provide a cross-referencing collection
Using the Console we create a collection named patient-provider to store the relationship between patients and providers. The GUID under user represents the patient and the one under provider represents the role of which the respective doctor is a member.

| Patient | Provider |
|---|---|
| patient1 | wellnesspractice |
Step 5: Add collection hooks to enforce permissions
This option adds the appropriate ACL to the results collection entity as soon as the patient creates it. We are using a pre-save collection hook on the results collection and use a lookup table (method 2) to find out which role to add.
For more information, see the FlexServices Guide on adding ACLs.
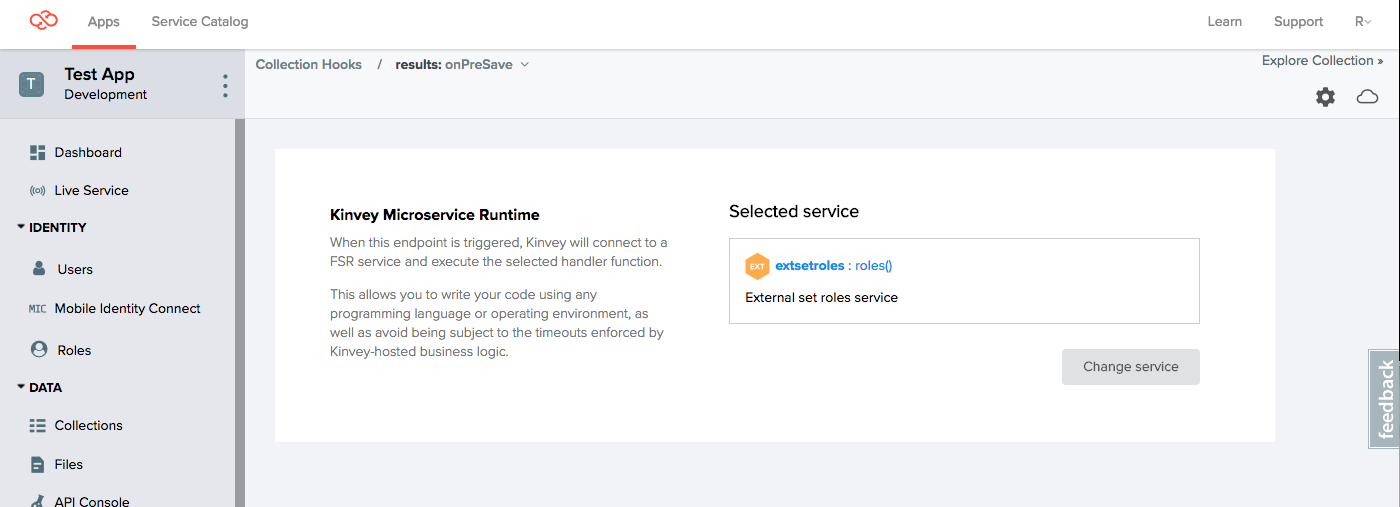
The following code demonstrates how to use the kinveyEntity module to assign an entity-level permission. The role that we are assigning read permissions (wellnesspractice) is automatically read from the provider that services the patient.
const _addRoles = (context, complete, modules) => {
  return new Promise((resolve, reject) => {
    const options = {
      useUserContext: false
    };
    const store = modules.dataStore(options);
    const patient = store.collection('patient-provider');
    const query = new modules.Query();
    const currentUser = modules.requestContext.getAuthenticatedUserId();
    query.equalTo('user', currentUser);
    patient.find(query, (err, result) => {
      if (err) {
        return reject(err);
      } else if (result === undefined || result[0] === undefined || result[0].provider === undefined) {
        return resolve(context.body);
      }
      modules.kinveyEntity.entity(context.body)._acl.addReaderRole(result[0].provider);
      return resolve(context.body);
    });
  });
}
const roles = (context, complete, modules) => {
  _addRoles(context, complete, modules).then((result) => {
    if (result.err) {
      return complete().setBody(result.err).runtimeError().done();
    }
    complete().setBody(result).ok().next();
  });
}
exports.roles = roles;
Step 6: Verify access
You can use the Console's Databrowser and API Console to verify if the operations are correct.
This tutorial runs through a battery of tests, starting with an empty results collection. These are detailed in the sections that follow.
Steps:
- Add a few results as
patient1, view results as the same user in Databrowser. - Add a few results as
patient2, view results as the same user in Databrowser.
Expected result: Only see own records.
Steps:
- Get all records as
doctor1using API Console.
Expected result: See only records created by patient1.
Steps:
- Get all records as
doctor3using API Console.
Expected result: No records.
1. Add results as patient1
In the API console, switch to patient1 for API access, by clicking on SHOW OPTIONS > Authentication > CHANGE > User session and entering the credentials for patient1.
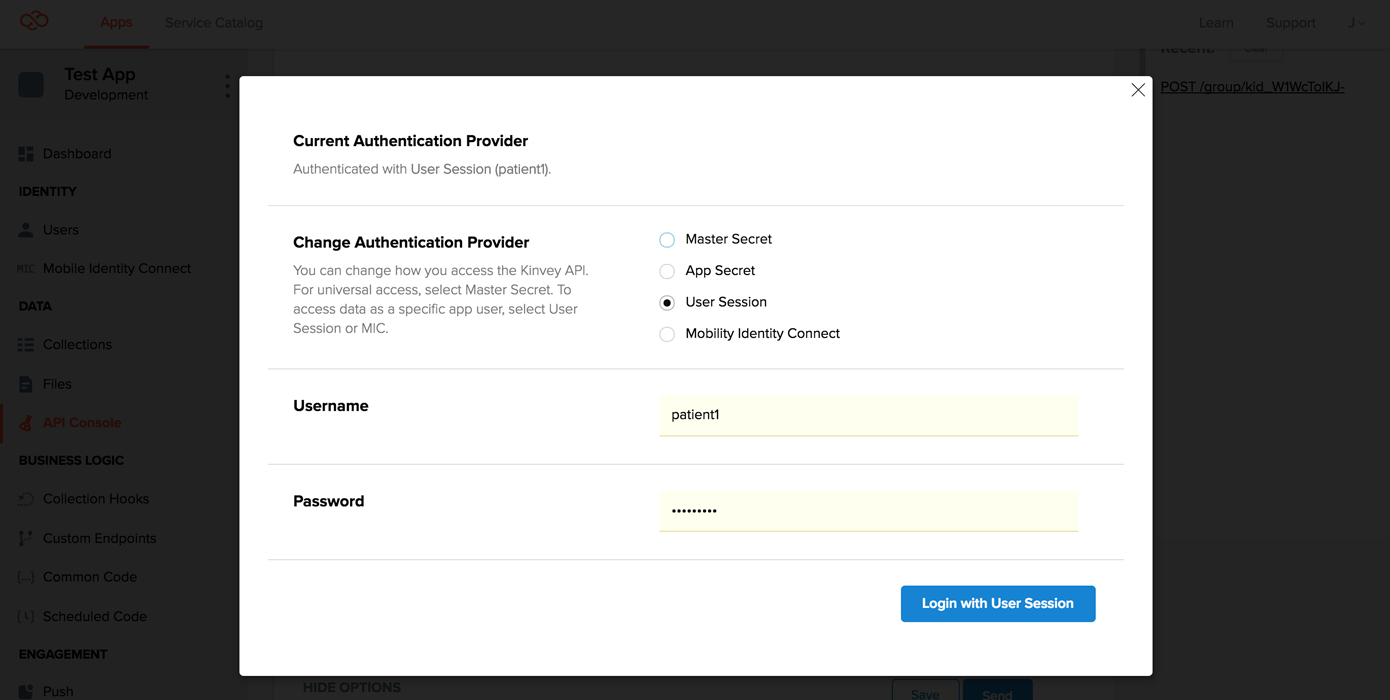
Then, POST a few results:
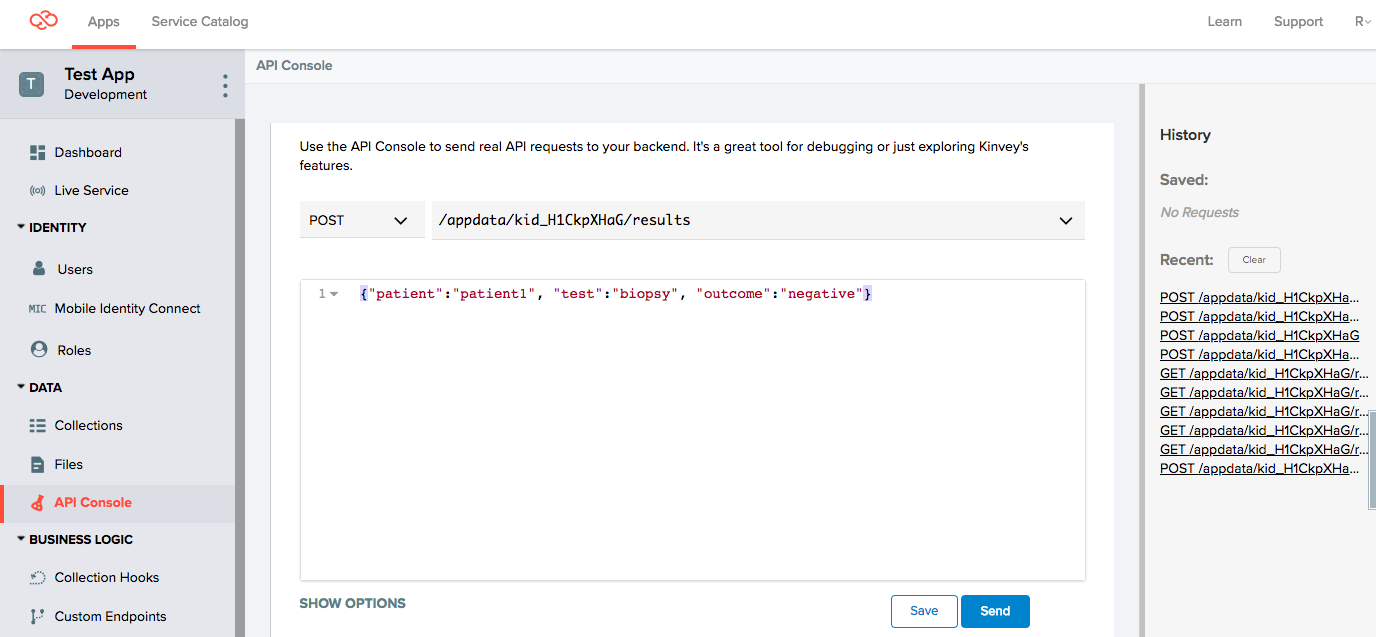
POST /appdata/kid_xxxx/results
{"patient":"patient1", "test":"bloodpanel", "outcome":"negative"}
{"patient":"patient1", "test":"biopsy", "outcome":"negative"}
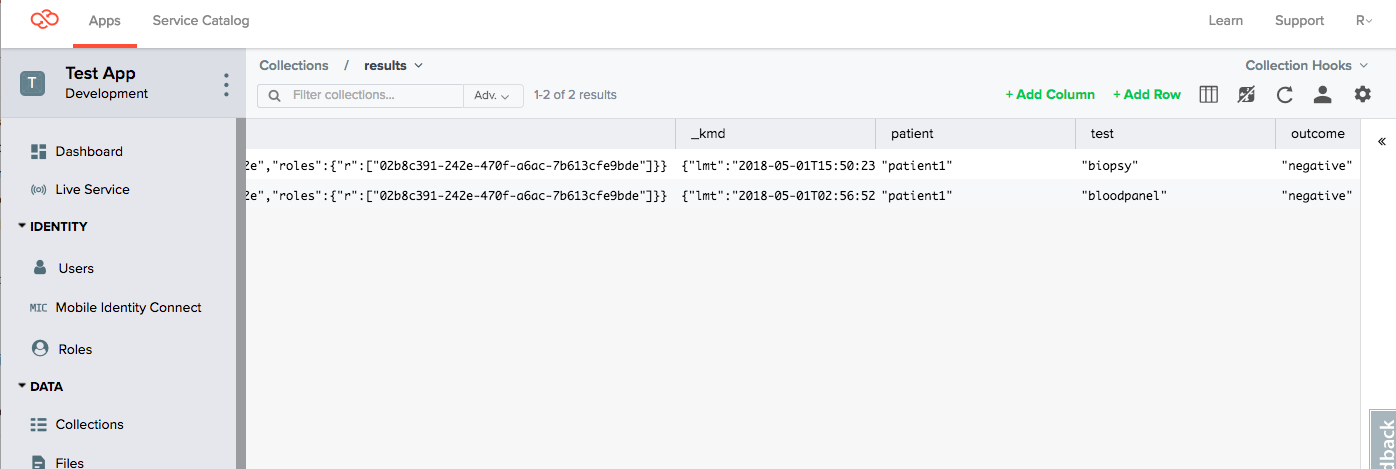
Look in the Databrowser to see these items:
2. Add results as patient2
Following the same steps as for patient1, switch to patient2 credentials in the API Console, and then add some results for patient2.
POST /appdata/kid_xxxx/results
{"patient":"patient2", "test":"bloodpanel", "outcome":"HDL high"}
{"patient":"patient2", "test":"biopsy", "outcome":"benign"}
Look in the Databrowser to see these items. You can only see the results for patient2 because you are logged in as patient2 and that patient should not be able to see results from patient1.
_acl, not by the fields named patient that happens to contain a reference to the username!

3. Get all records as doctor1
In the API Console, switch to using doctor1 user credentials.
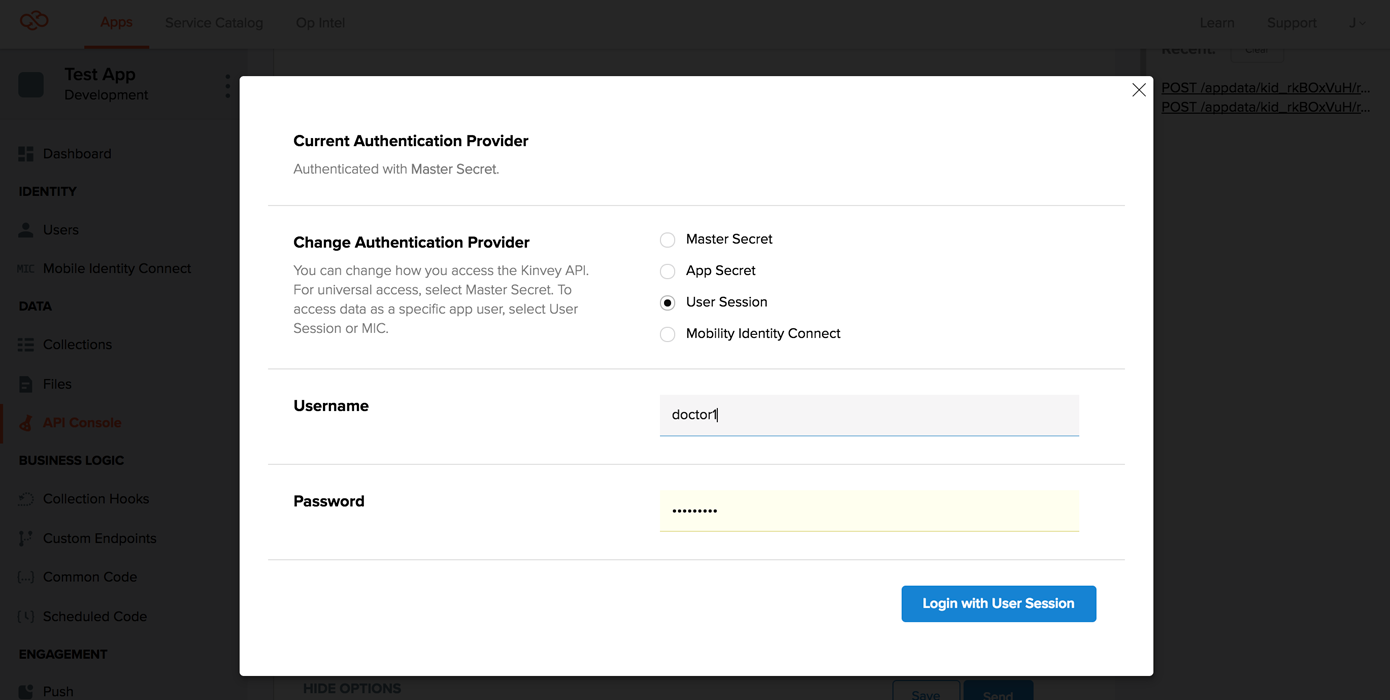
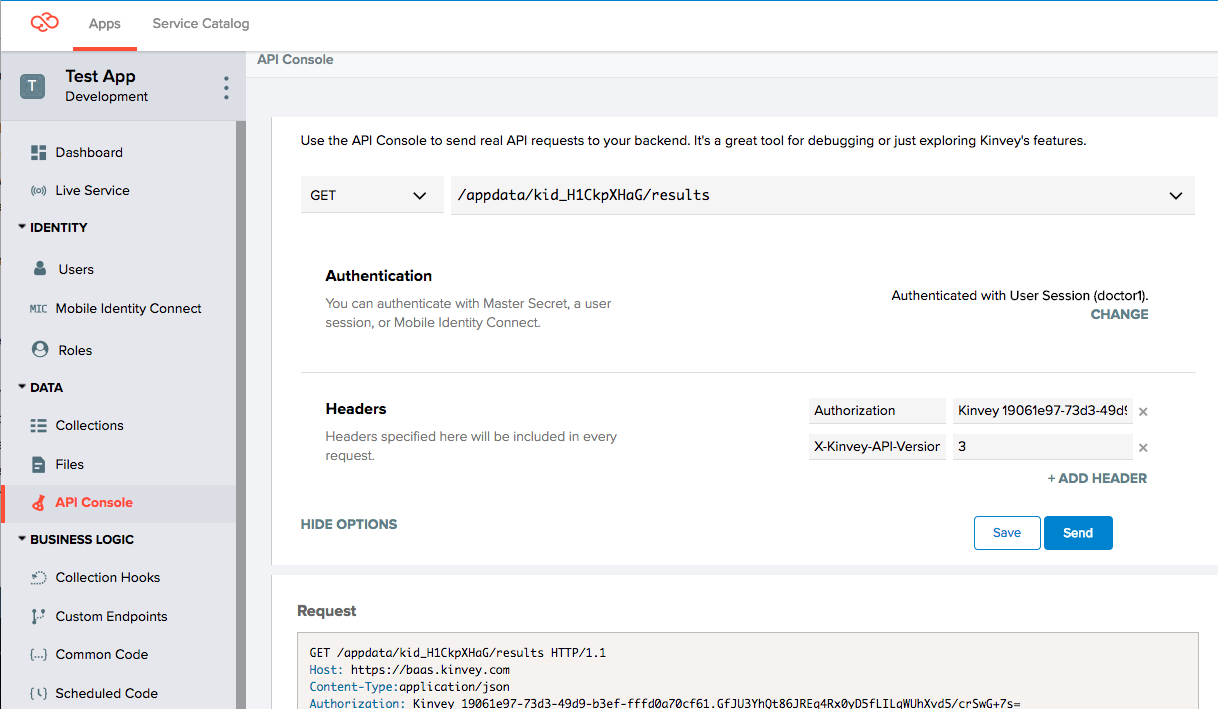
Now, do a Get All Results as this user, and notice that all results for patient1 come back:
HTTP/1.1 200 OK
Content-Type: application/json; charset=utf-8
X-Kinvey-Request-Id: 0a132205f7bc4c6fbcd76b27b045f4e6
X-Powered-By: Express

[
    {
        "_id": "5ae7d774ac46bd2f0d28e5d6",
        "patient": "patient1",
        "test": "bloodpanel",
        "outcome": "negative",
        "_acl": {
            "creator": "5ae7ad70a432ce4037e4da2e",
            "roles": {
                "r": [
                    "02b8c391-242e-470f-a6ac-7b613cfe9bde"
                ]
            }
        },
        "_kmd": {
            "lmt": "2018-05-01T02:56:52.854Z",
            "ect": "2018-05-01T02:56:52.854Z"
        }
    },
    {
        "_id": "5ae88cbf1eb287131bc42234",
        "patient": "patient1",
        "test": "biopsy",
        "outcome": "negative",
        "_acl": {
            "creator": "5ae7ad70a432ce4037e4da2e",
            "roles": {
                "r": [
                    "02b8c391-242e-470f-a6ac-7b613cfe9bde"
                ]
            }
        },
        "_kmd": {
            "lmt": "2018-05-01T15:50:23.083Z",
            "ect": "2018-05-01T15:50:23.083Z"
        }
    }
]
4. Get all records as doctor3
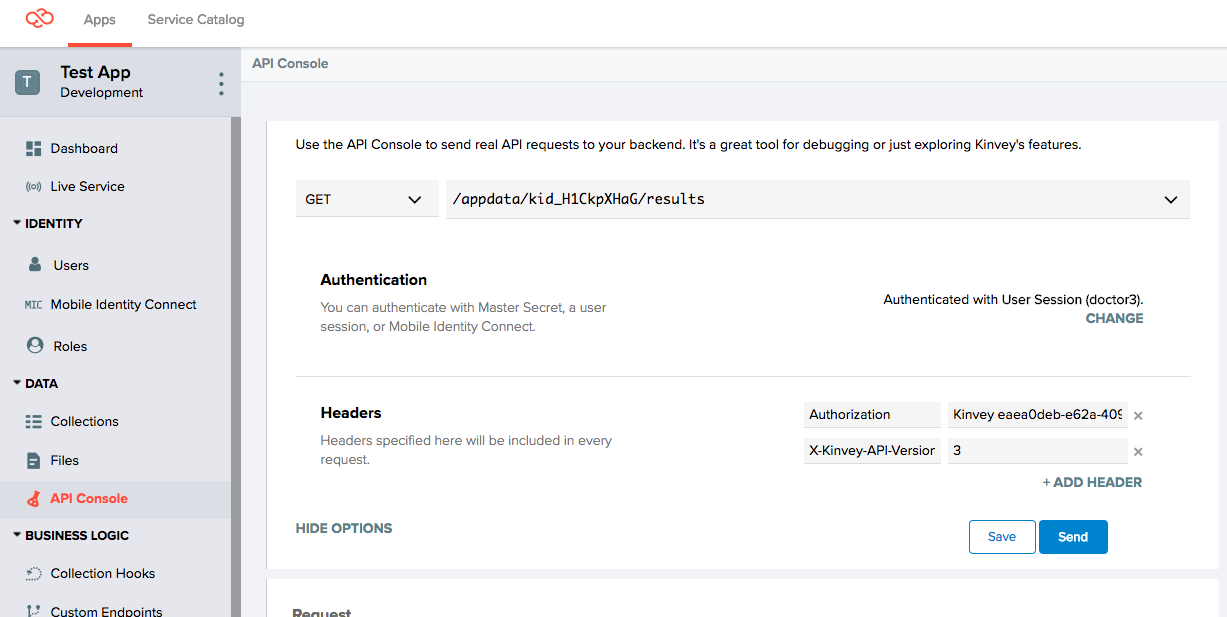
In the API Console, switch to using doctor3 user credentials.
Now, do a Get All Results as this user, and notice that zero results are returned, as expected, because doctor3 is not assigned to any patient:
HTTP/1.1 200 OK
Content-Type: application/json; charset=utf-8
X-Kinvey-Request-Id: 1a9f1e9f945d4dd7b0882ac9772ce121
X-Powered-By: Express

[]
Conclusion
If the default Collection ACL model does not fit your data model, then this tutorial provides a guideline on enhancing these defaults with customized logic using FlexServices. You can further build on the steps outlined in this tutorial to create more complex models. Contact Kinvey Customer Success for more information or help.
 Docs
Docs