 Docs
Docs
Starting Your First App
If you are starting with a fresh Xamarin project or an existing project, follow these steps to add the Kinvey Xamarin SDK to your project and set up the Kinvey Client.
Prerequisites
Configure your runtime platform and dependencies:
Project Set Up
Using Visual Studio
The Kinvey .NET SDK is distributed through NuGet and targets:
- Xamarin.Android
- Xamarin.iOS
To add the Kinvey NuGet package to your project:
- Right-click the solution in Solution Explorer.
- In the context menu that opens, click Manage NuGet Packages for Solution....
- In the package management window that opens, search for
Kinvey.
Using SDK Source Code
The Kinvey Xamarin SDK is open source. If you prefer to compile your app against the SDK source code, you can follow the instructions on our github repo to set up the SDK.
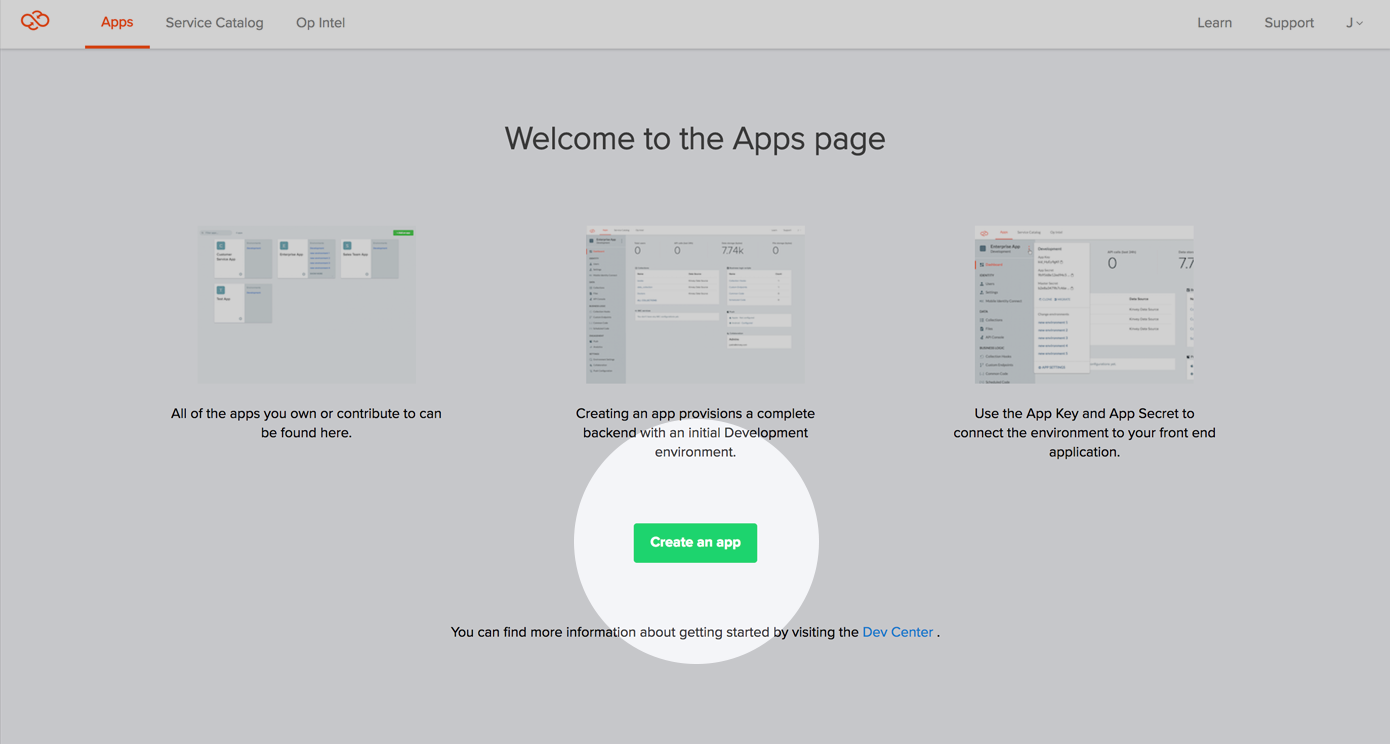
Add an App Backend
In the Kinvey console, click Create an App and enter the name of your app when prompted.
You can find your key and secret in the dropdown menu in the environment sidebar.
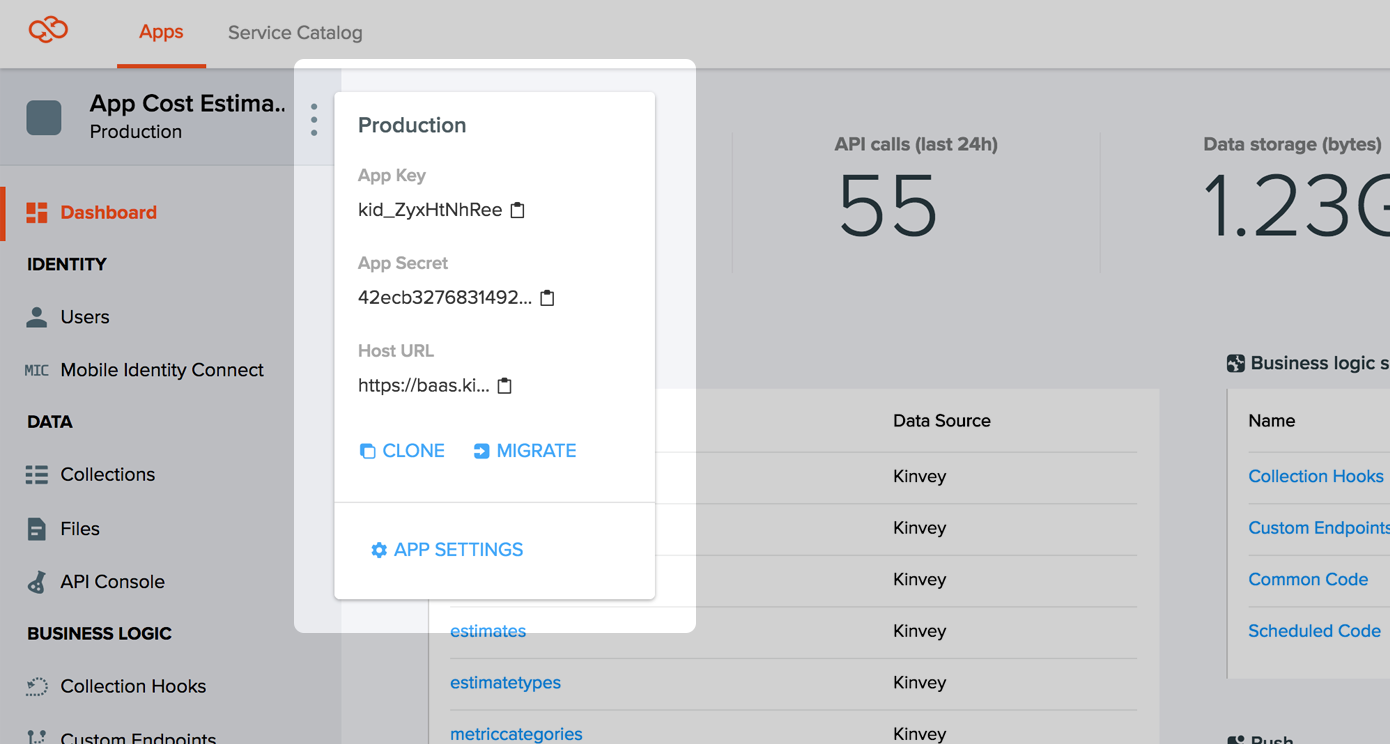
Copy the key and secret when performing the next steps.
Initialize a Client
The Client.Builder is used to build and initialize the Client before making any calls to the Kinvey API.
You need to set the following arguments on your client:
- Set your App Key and App Secret obtained from the Kinvey console.
- (Optional) Set a Logger delegate to allow the Library to write output. If the delegate is not set, no logs are generated.
- (Optional) Set a file path. If the file path is not set, each platform uses a default folder.
Initializing a Client is usually done when your application first starts.
using Kinvey;

var builder = new Client.Builder(your_app_key, your_app_secret)
                        .SetFilePath(filePath) // optional
                        .setLogger(Console.WriteLine); //optional

var kinveyClient = builder.Build();Client.
You can find your Instance ID on the dashboard of the Kinvey Console, next to your App Key and App Secret.
var builder = new Client
                .Builder(your_app_key, your_app_secret)
                .SetInstanceID("<Your Instance ID");

var kinveyClient = builder.Build();
Verify Set Up
You can use the PingAsync() method on the kinveyClient object to verify that the app has valid credentials.
try
{
    var response = await kinveyClient.PingAsync();
}
catch (Exception e)
{
    // an error has occured
}
Every App has an Active User
Your app will be used by a real-life human being. This person is represented by the Active User. This user object must explicitly be created, either with a username and password, OAuth sign-on (such as Facebook, Google+, LinkedIn, etc.), or Mobile Identity Connect. See the User Guide for more information.
What's next
You are now ready to start building your awesome apps! Next we recommend diving into the User Guide or Data Store Guide to learn more about our service, or explore the sample apps to go straight to working projects.