 Docs
Docs
Starting Your First App
If you are starting with a fresh Android project or an existing app, follow these steps to add the Kinvey Android library to your app and set up the Kinvey Client.
Prerequisites
- Java Development Kit (JDK) >= 7
- Android SDK simply follow the installation instructions. This library currently supports Android 4.4 and higher.
- Intellij or Android Studio, with Gradle.
- Google has announced the end of life of official support for the Eclipse ADT Plugin. We do distribute JAR files (within the libsJAR directory of the downloaded zip file) which can be used with other IDEs and build systems, however it is not offically supported.
Project Set Up
Android Studio
Create a new Android project: File → New Project:
- Name will be displayed to users
- Specify a Package name (ex.: "com.myApp")
- For Language, select your preferred programming language
- Set Minimum SDK to API 19 or greater
In the
build.gradle (Module: app)file, make the project compatible withJava 8:android { compileOptions { sourceCompatibility JavaVersion.VERSION_1_8 targetCompatibility JavaVersion.VERSION_1_8 } }Add
Realmdatabase to the project:At the top of
build.gradle (Module: app), add the following line:apply plugin: 'realm-android'In
build.gradle (Project: <appname>), addRealmto the classpath, leaving any other pre-configured dependencies intact:buildscript { dependencies { classpath 'io.realm:realm-gradle-plugin:5.8.0' } }
Add other third party dependencies:
In
build.gradle (Module: app), add the following third-party dependencies, leaving any pre-configured dependencies intact:dependencies { implementation('com.google.api-client:google-api-client-android:1.19.0') { exclude(module: 'google-play-services') exclude(module: 'xpp3') } implementation 'com.google.http-client:google-http-client-android:1.19.0' implementation('com.google.http-client:google-http-client-gson:1.19.0') { exclude(module: 'xpp3') } }If you use Live Service, also add
Pubnubto the dependencies:dependencies { implementation group: 'com.pubnub', name: 'pubnub-gson', version: '4.18.0' }Add the Kinvey SDK:
There are 2 ways to add the Kinvey SDK to the project. The first way is with
JitPackwhich is a repository used for distribution of the Kinvey SDK:Add link to
JitPackrepository in the project rootbuild.gradle (Project: <appname>)config file:buildscript { repositories { google() jcenter() maven { url 'https://jitpack.io' } } dependencies { classpath 'com.android.tools.build:gradle:3.5.0' classpath 'io.realm:realm-gradle-plugin:5.8.0' } }Add Kinvey SDK dependency in
build.gradle (Module: app):implementation ('com.github.kinvey:android-sdk:v4.3.4') { exclude(module: 'guava-jdk5') }The second way to add Kinvey is to do so manually:
Download the latest Kinvey SDK (zip) and extract the downloaded zip file
- In Android Studio, right click on your project and select Reveal In Finder (OSX) or Reveal in Explorer (Windows).
- In the window that opens, navigate to the
app/libsdirectory. If thelibsdirectory does not exist, create it. - Copy all JAR and AAR files from the lib/ folder of the extracted Kinvey library zip to the
app/libsfolder you opened in the previous step.
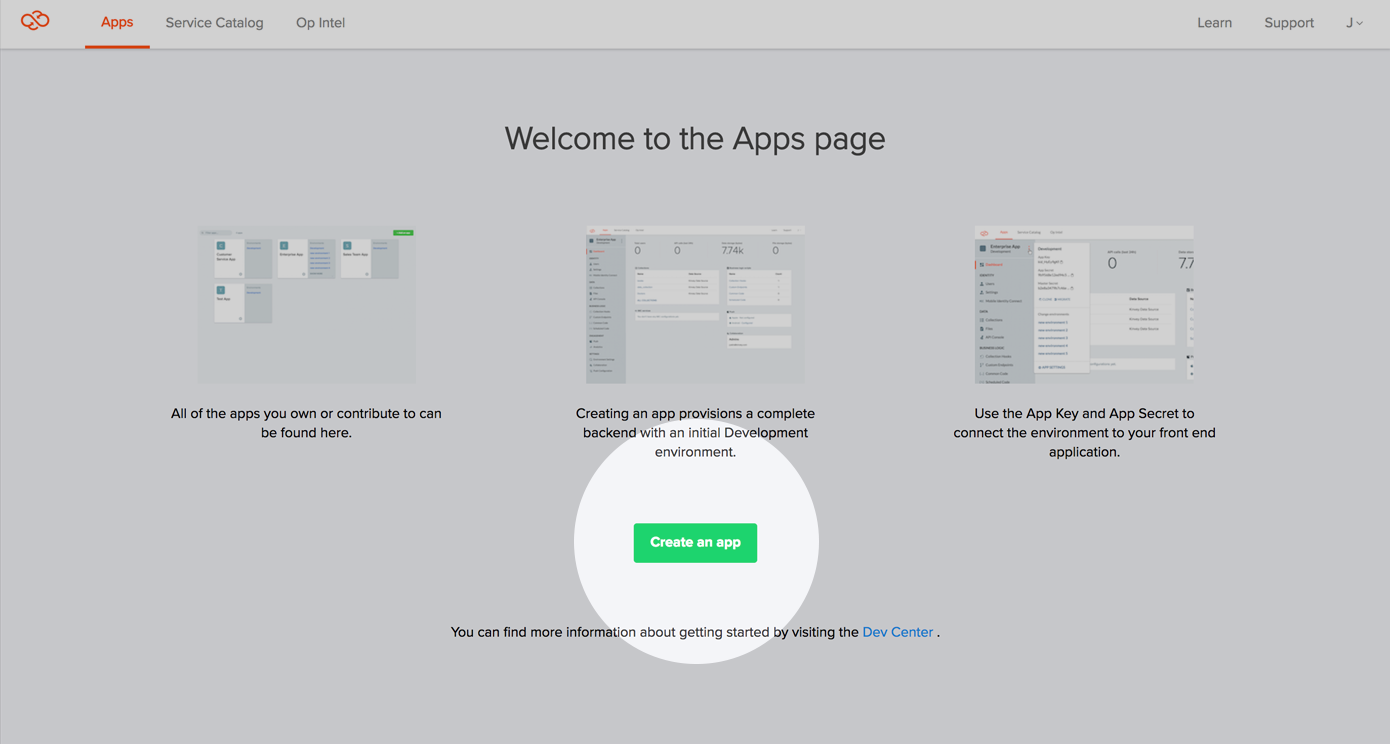
Add an App Backend
In the Kinvey console, click Create an App and enter the name of your app when prompted.
You can find your key and secret in the dropdown menu in the environment sidebar.
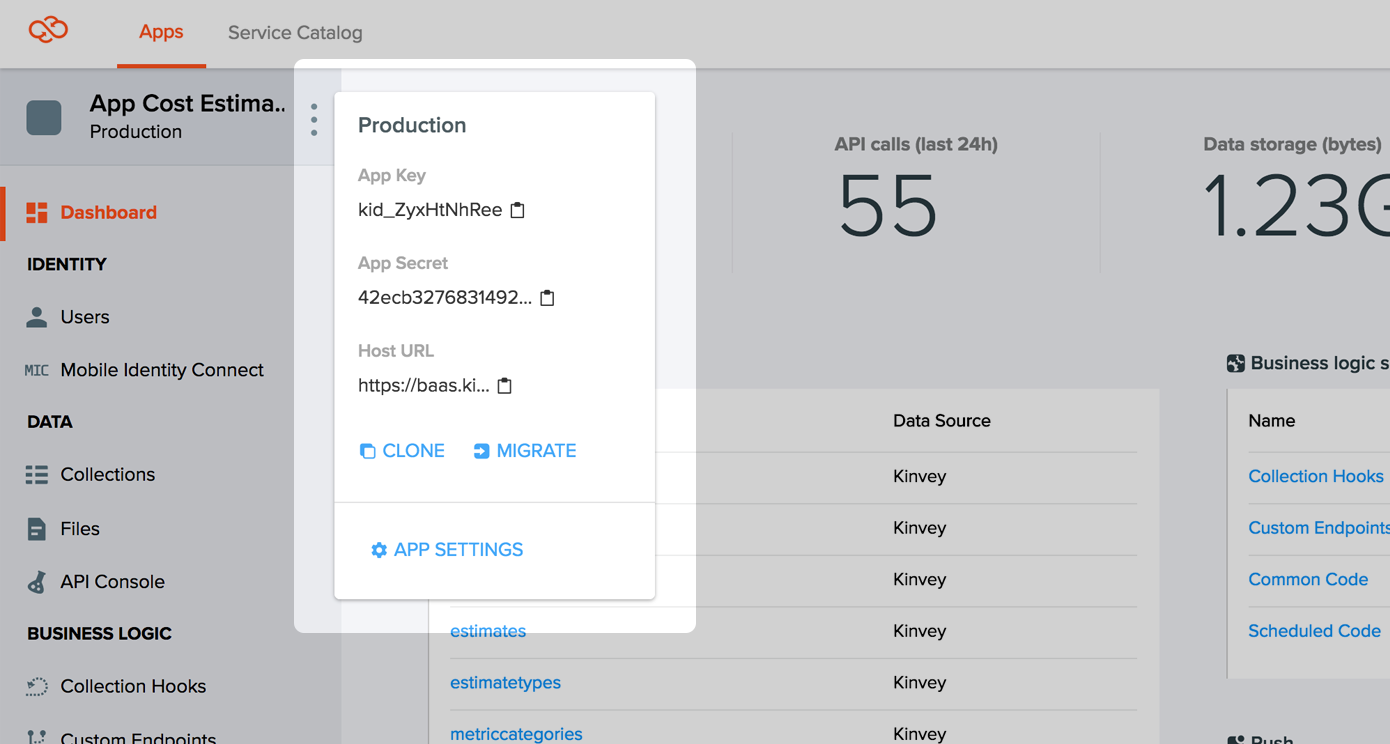
Copy the key and secret when performing the next steps.
Initialize a Client
The Client.Builder is used to build and initialize the Client before making any calls to the Kinvey API.
The Client.Builder requires the App Key and App Secret obtained from the Kinvey console, as well as your Android Application context. Initializing a Client is usually done within your Application.
import com.kinvey.android.Client;

…
public class App extends Application {

    private Client mKinveyClient;

    @Override
    public void onCreate() {
        super.onCreate();
        mKinveyClient = new Client
                    .Builder(your_app_key, your_app_secret, this)
                    .build();
    }

    public Client getKinveyClient(){
        return mKinveyClient;
    }

}Client.
You can find your Instance ID on the dashboard of the Kinvey Console, next to your App Key and App Secret.
mKinveyClient = new Client.Builder(your_app_key, your_app_secret
, this).setInstanceID("<Your Instance ID>").build();After initializing Client, you can use Client.sharedInstance() to get a Client instance from anywhere inside your app.
Using a properties file
Hard-wiring the appKey and appSecret programmatically is a handy way for you to initialize the Kinvey library. However, this is not always the best choice. Often times you may want more control over the library configuration and would prefer to keep it in a separate .properties file.
Store properties inside the kinvey.properties file in your project's assets folder:
# Required settings
app.key=<Your App Key>
app.secret=<Your App Secret>

# Optional settings
#### Required for push
gcm.enabled=true
gcm.senderID=<Your Sender ID>

#### Required for Dedicated Kinvey customers
instance.id=<Your Instance ID>
In order to initialize Client with the properties file settings you need to call a different constructor method on the Client.Builder class, then call build().
mKinveyClient = new Client.Builder(this).build();Verify Set Up
You can use myClient.ping(…) to verify that the app has valid credentials. The following code example:
- builds a new client
- pings the backend with the app credentials
mKinveyClient = new Client
            .Builder(appKey, appSecret, this.getApplicationContext())
            .build();

mKinveyClient.ping(new KinveyPingCallback() {

    public void onFailure(Throwable t) {
        Log.e(TAG, "Kinvey Ping Failed", t);
    }

    public void onSuccess(Boolean b) {
        Log.d(TAG, "Kinvey Ping Success");
    }
});Every App has an Active User
Your app will be used by a real-life human being. This person is represented by the Active User. This user object must explicitly be created, either with a username and password, OAuth sign-on (such as Facebook, Google+, LinkedIn, etc.), or Mobile Identity Connect. See the User Guide for more information.
What's next
You are now ready to start building your awesome apps! Next we recommend diving into the User Guide or Data Store Guide to learn more about our service, or explore the sample apps to go straight to working projects.